From a picture to an editable mesh
Image to OBJ: Bring the shape into your editor, with its files in order
Turn a reference picture into a Wavefront OBJ free, with no sign-up. Keep any accompanying material and texture files with the mesh when you open it in your editor.
Create your model
3D preview
Sample result · TRELLIS
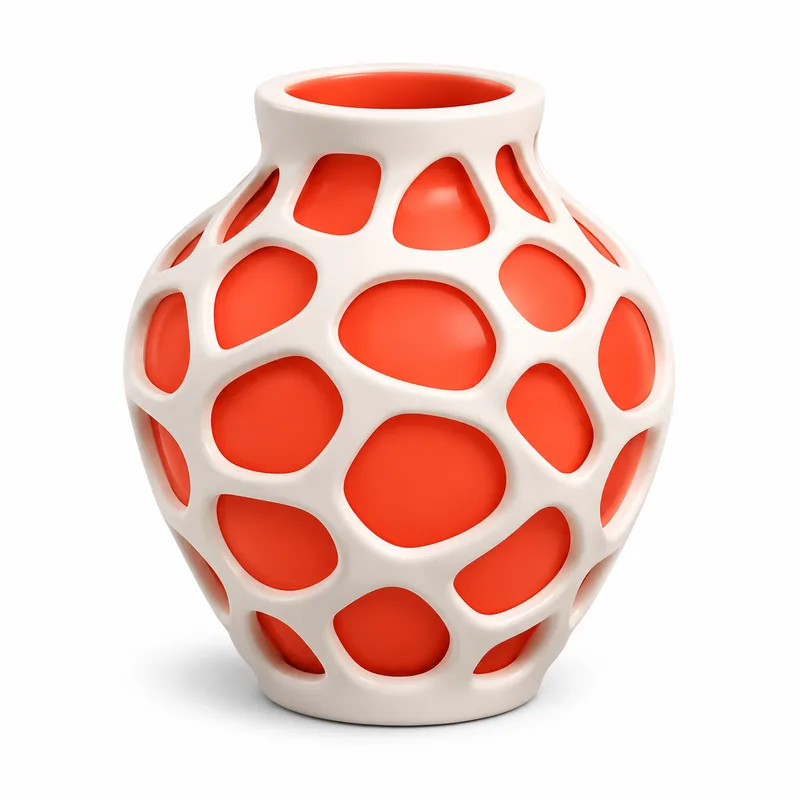 Input image
A real TRELLIS example generated on Image to 3D AI. Inspect the shape, then create your own model from a supported input.
Use cases
Take an image to OBJ into your next editing session
An image to OBJ workflow gives you geometry to develop in a compatible editor. Keep its material resources organized while you refine the shape, scale and appearance for the project.
- Rodin 2.5 Fast
Create an image to OBJ model of a prop so you can examine its silhouette before refining the asset. Import the geometry and available material resources into your editor, then review topology, hidden surfaces and scale. Game-specific UV, collision and performance requirements still need attention in the production workflow.
- TRELLIS
Use an image to OBJ mesh as a starting shape for sculpting or cleanup. Work on connected parts, surface detail and dimensions in the software you prefer. If the project later needs a print, prepare its geometry and choose an appropriate delivery format after completing the necessary printability checks.
- Hunyuan 3D 3.1 Rapid
An image to OBJ delivery can help a collaborator continue a product concept as a mesh rather than a single picture. Pass along the companion material and texture files when present, and explain any intended scale. Functional dimensions, construction details and fit remain separate design tasks to resolve in the editor.
- Hunyuan 3D 3.1 Rapid
Bring a picture-derived object into a visual scene for further modeling and material work. Preserve the relationship between the OBJ, its MTL and texture images so the receiving application can find them. Check the imported appearance before building the lighting and fine detail needed for the finished shot.
Examples
Image to OBJ begins with geometry you can inspect
Explore actual meshes generated from pictures, text prompts and multiple views. Each sample has validated platform OBJ export. Textured OBJ deliveries include matching material and texture files; untextured models export geometry only. Inspect the labeled input beside the browser preview, then check the exported bundle in your next editor.
 Input image
Features
Image to OBJ generation from reference to editing files
An image to OBJ converter gives you editable geometry from a picture. The same asset can be a starting mesh for a scene or travel with surface resources for a material pass in your editor.
Turn a reference into editable geometry
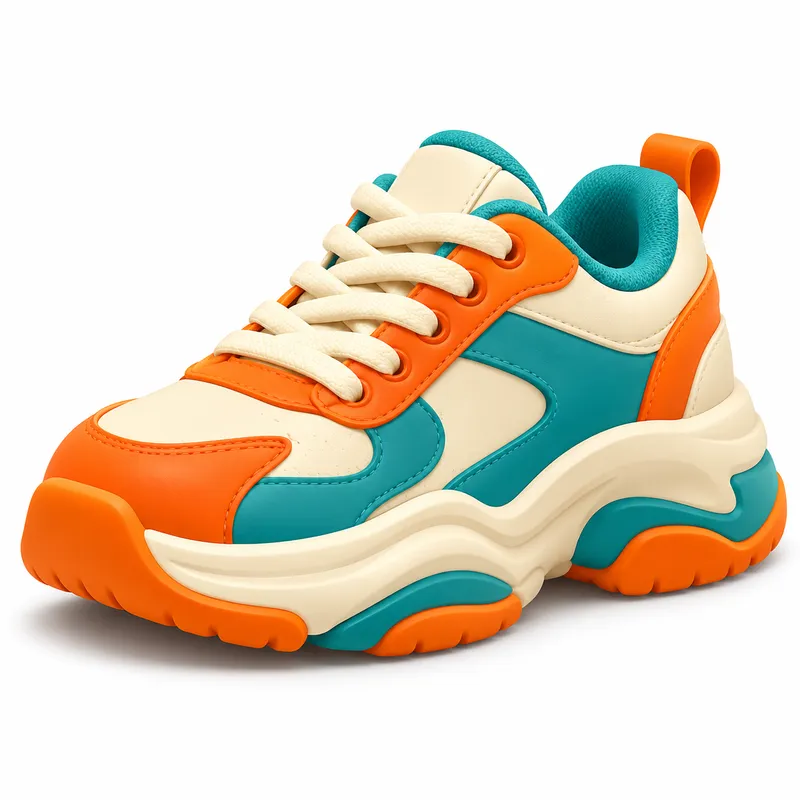
Image to OBJ generation creates an editable mesh with volume behind the reference. A recognizable outline can be enough for a scene blockout, while the inferred sides leave room to reshape the object in your editor. This is useful when you need a starting form for a prop design instead of building the volume from scratch.
 Input image
Judge the volume at different camera angles
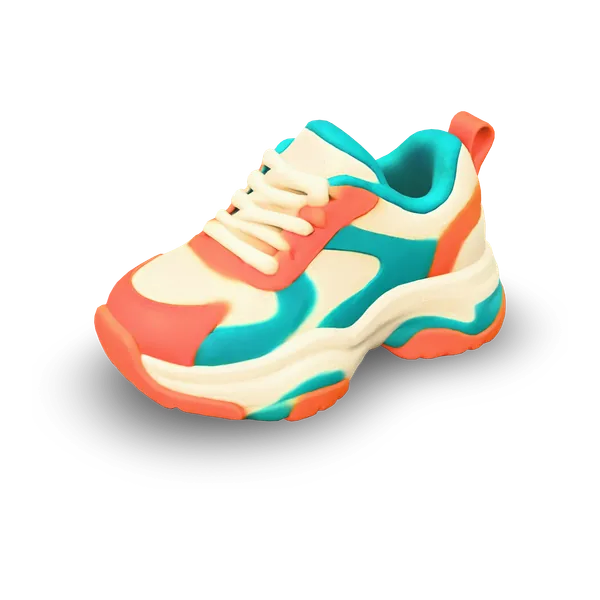
Front, side and back views reveal different proportions in the same image to OBJ mesh. A front view can establish the overall shape of a prop. The side view shows whether that prop has the intended depth when it sits alongside other objects. The rear view can expose joins that would otherwise appear only after you place the asset in a scene.


Review both surfaces and the geometry beneath them
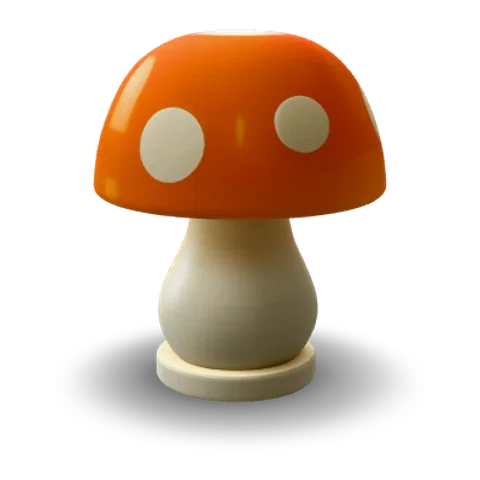
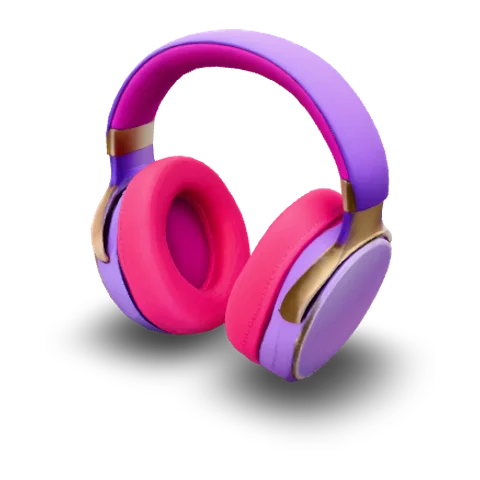
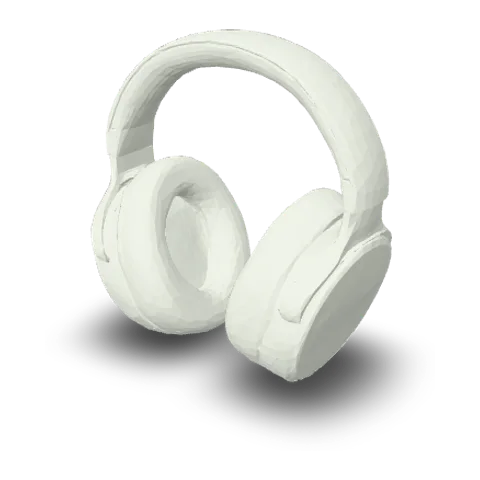
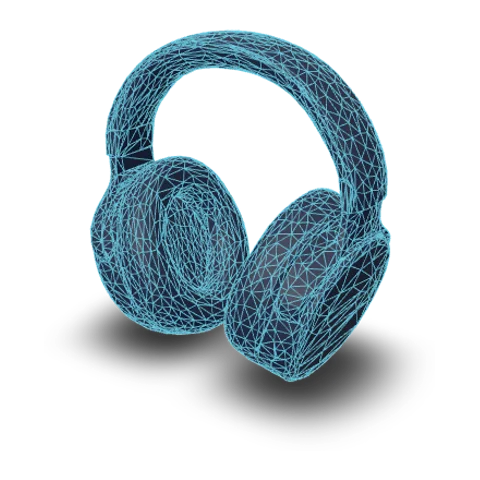
The textured, solid and wireframe views of an image to OBJ result help you choose which parts to edit. A seam that disappears in solid view belongs to the appearance of the asset. A bent edge or a gap that remains in that view calls for geometry work. The wireframe makes the distribution of faces easier to see.
Keep OBJ, MTL and texture references together
An OBJ describes geometry and may refer to an MTL file, which can in turn point to texture images. Preserve those companion files and their relative locations when unpacking an export. Existing OBJ-source results retain their available resources; other results use browser OBJ export. A single geometry file should not be mistaken for a complete textured material package.
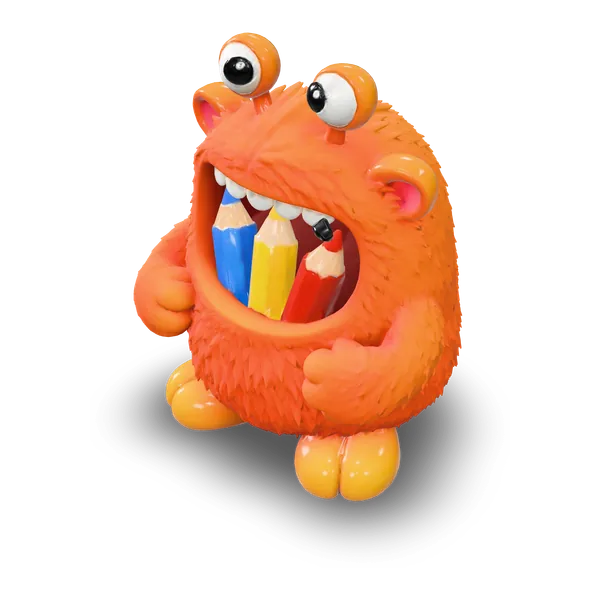
- glbWeb and games
- objEditing tools
- stl3D printing
How it works
How image to OBJ generation works from reference picture to import
Move through image to OBJ generation with the source reference, generated mesh and destination editor in mind. The file handoff is part of the workflow, not just the download button.
- Upload your object reference
Upload the picture that explains the object
Start an image to OBJ model with a supported picture of one clear subject. Select a compatible AI model and review its input requirements. If your idea is better expressed as text or multiple views, switch tabs while keeping the same familiar generation and preview panel.
- TRELLISFREE
- Rodin 2.5 FastPRO
- Hunyuan 3D 3.1 RapidPRO
- Tripo H3.1PRO
- Hunyuan 3D 3.1 ProPRO
- Rodin 2.5PRO
- Meshy 7.1PRO
Generate and inspect shape and surface
Check the model settings and current quote before pressing Generate. Rotate the image to OBJ result to inspect its geometry, orientation and surface appearance. Use the available viewing modes to decide which parts need additional modeling or material work after download.
- OBJGLBSTL
Keep the companion files and check the import
Download with OBJ selected, extract any supplied package and keep its files in their intended relative locations. Import the OBJ into your compatible editor and confirm that its material resources resolve. Check scale and orientation there before making edits or passing the asset to another collaborator.
More generators
More AI 3D generators
An image to OBJ workflow can start from another kind of reference. Browse the input tools, alternative export pages and model-specific workspaces for your next editing task.
Stories
Image to Obj Stories
These image to OBJ stories connect character and product studies with mesh editing, as creators inspect geometry and keep any companion texture files together.
I used image to OBJ with the retro-robot reference and inspected the eyes, chest and feet before exporting. The textured delivery included material and texture files alongside the mesh, so I kept that set together. Comparing the result with the picture helped me record which surfaces needed further shaping instead of judging only the front view.
FAQ
Image to OBJ questions
Answers about image to OBJ geometry, companion materials and the file relationships to preserve when importing a generated object into another editor.
- Geometry & resources
- OBJ · MTL · textures
- Check the imported material
This image to OBJ workspace generates a mesh from a reference picture and offers OBJ export. Upload a supported image, choose a model and inspect the result. Download the available geometry and companion resources for continued editing in a compatible application.
Generate an image to OBJ model for the work you want to do next
Upload a reference picture, generate an image to OBJ model and inspect its shape. Download the available mesh and material resources, keep their file relationships intact and continue developing the object in your own editor.