Start with a description
Text to 3D Model: Give your written idea a shape you can turn around
Describe an object, from its overall shape to the surface details you want to see. Choose a model, rotate the resulting mesh and export it as GLB, OBJ or STL.
Create your model
3D preview
Sample result · Rodin 2.5 Fast
A real Rodin 2.5 Fast example generated on Image to 3D AI. Inspect the shape, then create your own model from a supported input.
Use cases
Text to 3D model ideas for your next project
A text to 3D model gives an early idea a visible form. Explore a prop, a product or a decorative object before deciding what to refine in a 3D editor.
- Rodin 2.5 Fast
Build a text to 3D model of a treasure chest, a tool or an imagined object when your project has a written brief but no reference art. Rotate the first draft to judge its silhouette, then refine the geometry and materials before putting it into a game scene.
- Hunyuan 3D 3.1 Pro
Use a text to 3D model to explore a vase, a small sculpture or a display object. An STL export lets you continue in mesh-editing or slicing software, where you still need to check dimensions, wall thickness, connected parts and supports before attempting a physical print.
- Hunyuan 3D 3.1 Rapid
A text to 3D model can make a written product idea easier to discuss: describe the overall form, visible parts and material, then examine the generated volume. Treat it as a concept draft for further modeling rather than an engineering drawing or a dimensionally verified product design.
- Tripo H3.1
Turn a short object description into a rough set-dressing asset for a scene study. The downloadable mesh lets you inspect scale relationships and composition in your own editor. Review the hidden surfaces and materials before spending time on the detailing, topology and lighting needed for final production.
Examples
Text to 3D model examples you can inspect
Read the original prompt beside each text to 3D model, check the named model and rotate the result. Using a sample fills the input; it does not submit a new generation.
A cute retro toy robot with a round teal head, red ear pieces, a yellow chest dial and springy grey arms, standing, full body
Models
Choose an AI text to 3D model for your description
Compare the models currently offering text input, then inspect their available mesh-detail choices. The examples above pair real prompts with their recorded results; model choice and a clear description both matter.
| Model | Image | Text | Multi-Image | Mesh detail |
|---|---|---|---|---|
| Rodin 2.5 Fast | Yes | Yes | 2–5 views | Low · Standard · High |
| Hunyuan 3D 3.1 Rapid | Yes | Yes | — | Standard only |
| Tripo H3.1 | Yes | Yes | 4 set views | Low · Standard · High |
| Hunyuan 3D 3.1 Pro | Yes | Yes | — | Low · Standard · High |
| Rodin 2.5 | Yes | Yes | 2–5 views | Low · Standard · High |
| Meshy 7.1 | Yes | Yes | 2–4 views | Low · Standard · High |
Inputs and mesh detail levels come from each model’s current settings in the workspace. Results vary with the picture you upload.
Prompt to 3D model essentials
- Input
- An object description within the selected model’s displayed character limit
- Choice
- 6 models currently offer a text endpoint
- Output
- A generated mesh with GLB, OBJ and STL export options
- Preview
- Textured, solid and wireframe inspection in the browser
- Model settings
- Available texture and mesh-detail controls depend on the selected text-capable model
- Compatible input
- TRELLIS accepts image and multi-image inputs; choose a text-capable model for prompts
Features
Shape a text to 3D model from an object description
AI text to 3D works best when the description explains the object itself. Keep the form, materials and important parts clear, then inspect the resulting mesh before choosing how to use it.
Describe the object you want to hold in view
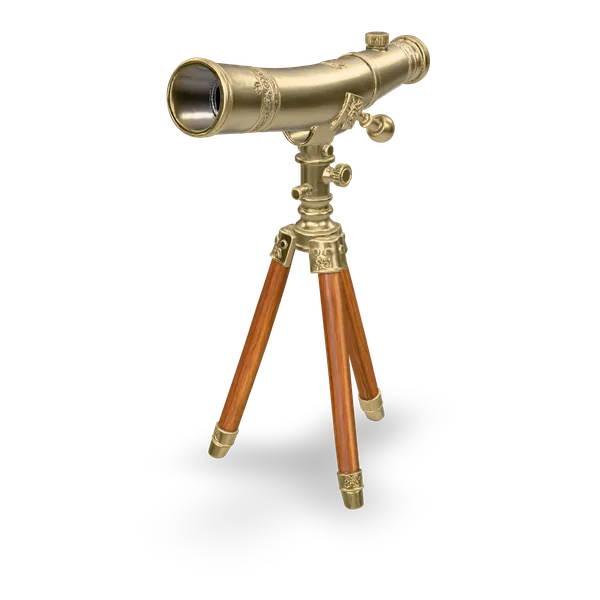
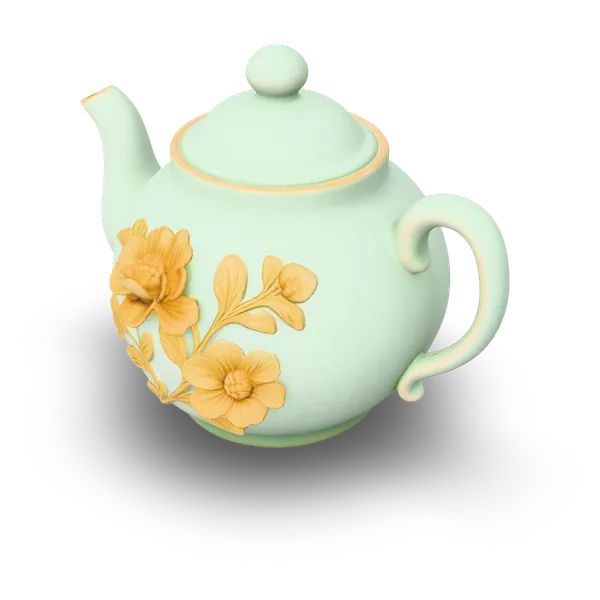
A text to 3D model starts with a description of a physical form. Name the main object, its proportions, recognizable parts and surface material. Prefer a concrete description such as a round ceramic teapot with a short spout over camera moves or a whole scene. The selected model’s character limit is shown beside the prompt field.
A vintage brass desk telescope on a wooden tripod with engraved details
Inspect the generated form beyond the prompt
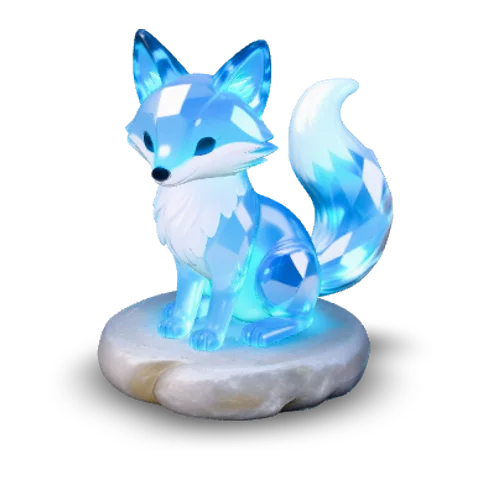
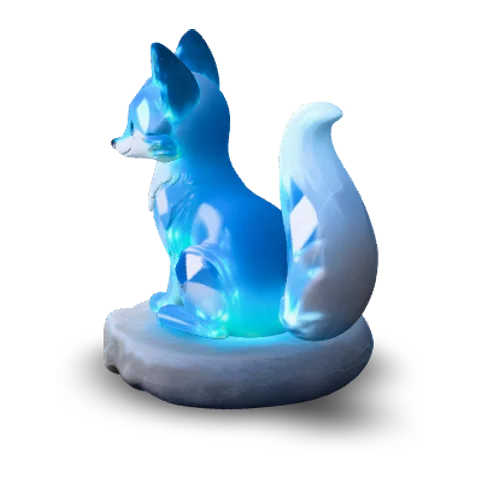
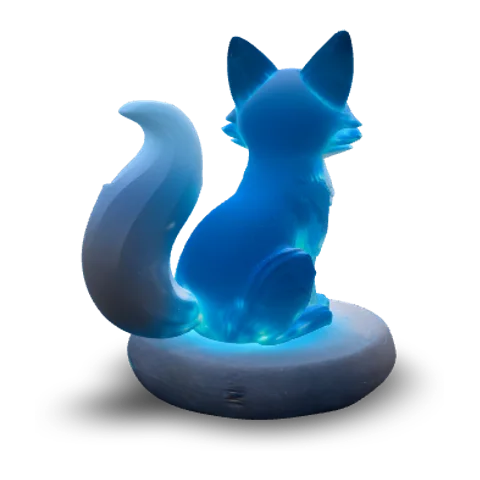
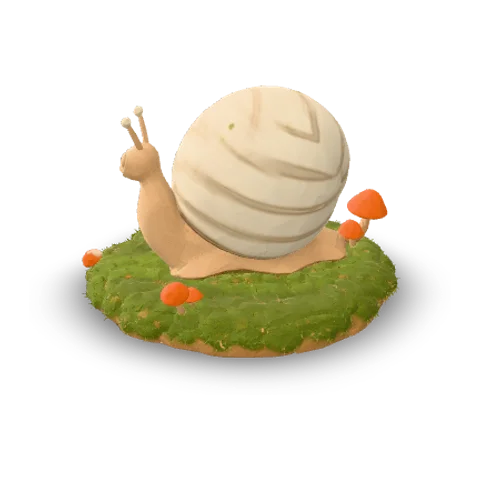
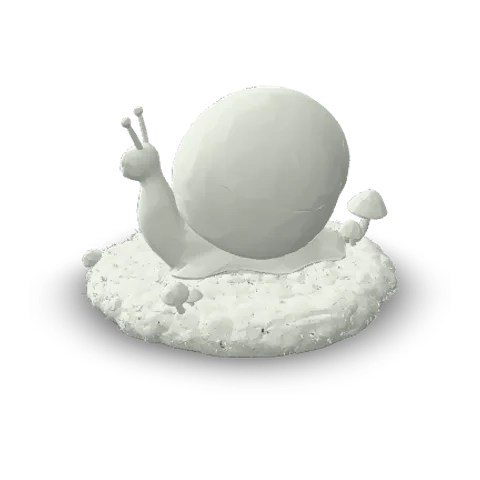
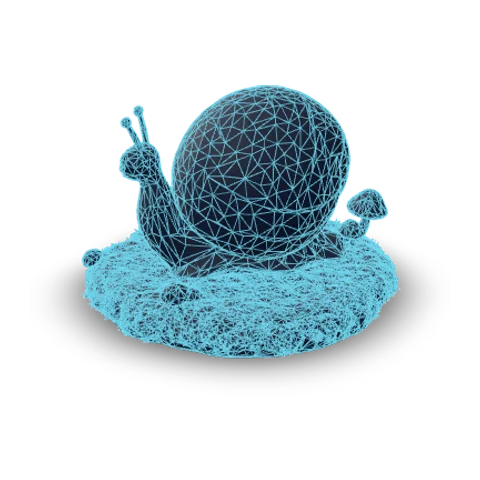
A text to 3D model gives your description a shape with sides that the words may not fully specify. Compare the front, side and back views of the generated result to check its silhouette, proportions and missing details. These are different views of one output mesh. Return to the original prompt when deciding which parts to describe more clearly for a later generation.
Inspect geometry separately from its surface
Check your text to 3D model from several directions rather than judging only the first view. Solid and wireframe previews help reveal the underlying volume, while a textured view shows the material interpretation. Texture and mesh detail are separate controls, and their available combinations depend on the selected model. Hidden surfaces and small details may need manual correction.
Take a real mesh into your next editing step
Download the generated object in the format that fits your next tool. GLB is useful for a compact previewable model, OBJ may include separate material and texture files, and STL contains the shape without color. Exporting a model does not automatically provide professional topology, engineering dimensions or print readiness; inspect those requirements in the software you use next.
- glbWeb and games
- objEditing tools
- stl3D printing
How it works
How to create a text to 3D model from your first prompt
Use the text to 3D model workspace to write a description, review the model options and check the resulting object. The same panel stays available throughout the process.
A friendly cartoon snail with a spiral shell covered in tiny mushrooms and moss
Describe an objectWrite a focused object description
Start your text to 3D model with the object’s name, main shape, distinctive parts and material. Keep the description within the character limit shown for the selected model. You can also load a displayed prompt example to see how a real input was written.
- TRELLISFREE
- Rodin 2.5 FastPRO
- Hunyuan 3D 3.1 RapidPRO
- Tripo H3.1PRO
- Hunyuan 3D 3.1 ProPRO
- Rodin 2.5PRO
- Meshy 7.1PRO
Check the model and generation options
Choose a text-capable model and inspect the available texture and mesh-detail settings. The text to 3D model quote updates for that combination. Review the prompt once more, confirm the current model and press Generate when the choices match your intended object.
- GLBOBJSTL
Rotate the result and download it
When the generated object is ready, inspect its front, sides and back using the preview controls. Compare textured, solid and wireframe views where available, then select GLB, OBJ or STL. Continue any cleanup, sizing or topology work in your preferred 3D software.
More generators
More AI 3D generators
After exploring a text to 3D model, compare image-based inputs, dedicated export pages and individual model workspaces for the next part of your project.
Stories
Text to 3D Model Stories
Written ideas became toy characters, decorative objects and scene props in these text to 3D model stories, with creators sharing the details they inspected.
I used text to 3D model generation for a small toy robot, describing its rounded body, large eyes and simple feet. Once the mesh appeared, I checked its silhouette from the side rather than judging only the front. The result gave my character study a clear volume, and I saved the GLB with the prompt.
FAQ
Text to 3D model questions
Answers about writing prompts, choosing a compatible model and using the downloadable result from AI text to 3D.
- 6 text-capable models
- GLB · OBJ · STL
- Quote before generation
Text to 3D model generation interprets an object description rather than extruding the letters you type. Describe the object’s shape and material to create a mesh; use a dedicated lettering tool if your goal is raised text or typographic extrusion.
Start a text to 3D model with the idea you already have
Describe one object, review a compatible model and its quote, then generate a text to 3D model you can rotate and download. Bring the mesh into your editor to continue shaping the idea.