Start with your drawing
Sketch to 3D Model: See the volume behind the lines you drew
Turn a clear drawing into a 3D mesh free, with no sign-up. Inspect the shape from several sides and export it as GLB, OBJ or STL.
Create your model
3D preview
Sample result · TRELLIS
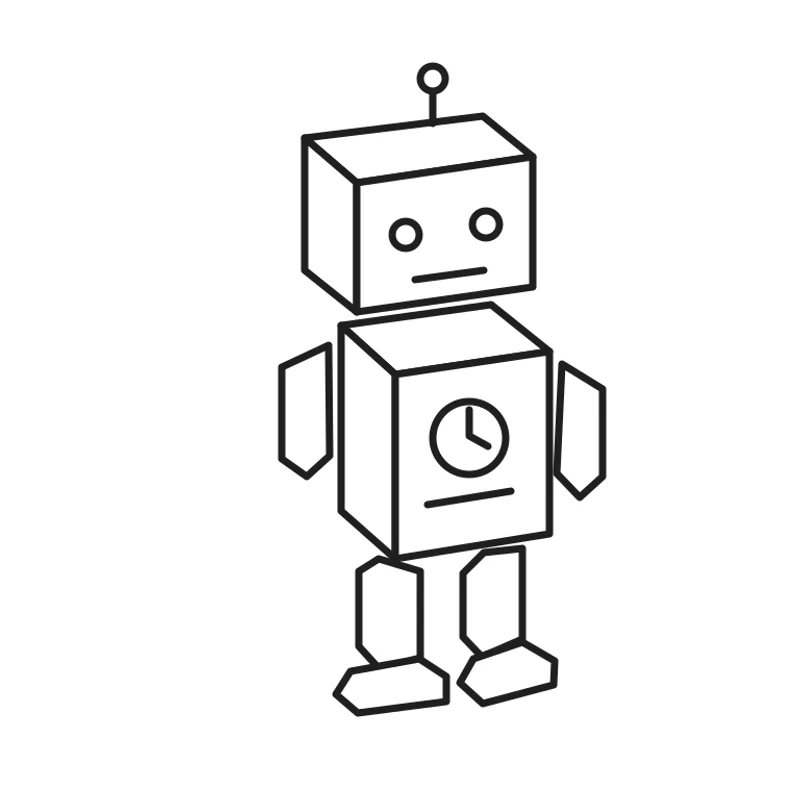 Input image
A real TRELLIS example generated on Image to 3D AI. Inspect the shape, then create your own model from a supported input.
Use cases
From sketch to 3D model for the next design discussion
Moving from sketch to a 3D model makes the volume of an idea easier to examine. Use the generated shape to explore a character, decorative object or early product concept before refining it.
- TRELLIS
Take a character or prop from sketch to a 3D model to examine the form drawn in your own style. Turn the result to see whether the major shapes read from different angles. The mesh provides a starting point for further sculpting, topology work and material editing in your preferred software.
- TRELLIS
Going from sketch to a 3D model lets you explore the shape of a toy, desk object or small sculpture. Inspect the silhouette and connected parts before deciding what to develop. If you later export STL, check dimensions, wall thickness and print preparation separately in a suitable editor or slicer.
- TRELLIS
Take an idea from sketch to a 3D model for a discussion about the form of a chair, container or handheld object. A rotatable draft can reveal proportions that a single drawing leaves ambiguous. Continue precise sizing, construction details and fit checks in dedicated design tools after this concept stage.
- TRELLIS
Explore an imagined object for a scene using the drawing you already have. A downloadable mesh lets you assess how its volume might sit beside other assets in your own editor. Review inferred surfaces and develop the materials, scale and fine detail needed for the final scene.
Examples
Sketch to 3D model results from original drawings
These sketch to 3D model examples pair original line drawings and model-rendered drawing studies with their actual TRELLIS results. Inspect each reference beside its mesh, then rotate the result to review inferred depth and surfaces.
Input imageModels
Choose a model for your drawing to 3D AI workflow
The sketch to 3D model examples on this page use TRELLIS. Its image-input settings are shown below. Other models may accept a drawing as an image, but these samples do not establish their sketch quality.
| Model | Image | Text | Multi-Image | Mesh detail |
|---|---|---|---|---|
| TRELLIS | Yes | — | 2–8 views | Low · Standard · High |
Inputs and mesh detail levels come from each model’s current settings in the workspace. Results vary with the picture you upload.
From drawn lines to a viewable object
- Reference
- A clear image of one drawn object
- Preparation
- A readable outline with unrelated notes and objects removed
- Interpretation
- AI infers depth and surfaces not visible in the drawing
- Inspection
- Rotate the result and compare textured, solid and wireframe views
- Delivery
- GLB, OBJ or STL for continued editing
- Precision
- A generated concept mesh rather than dimensioned CAD reconstruction
Features
Sketch to 3D model creation starts with a clear drawing
A useful sketch to 3D model begins with a drawing that explains the object. Make its outline and main parts easy to recognize, then evaluate the three-dimensional interpretation rather than only the first preview.
Start with a readable outline of one object
To go from sketch to a 3D model, use a clean scan, screenshot or photograph of your drawing. Keep one main subject in view and remove unrelated annotations, surrounding objects and page clutter. Clear boundaries between the major parts help explain the shape, whether the reference is a simple line drawing or a shaded concept sketch.
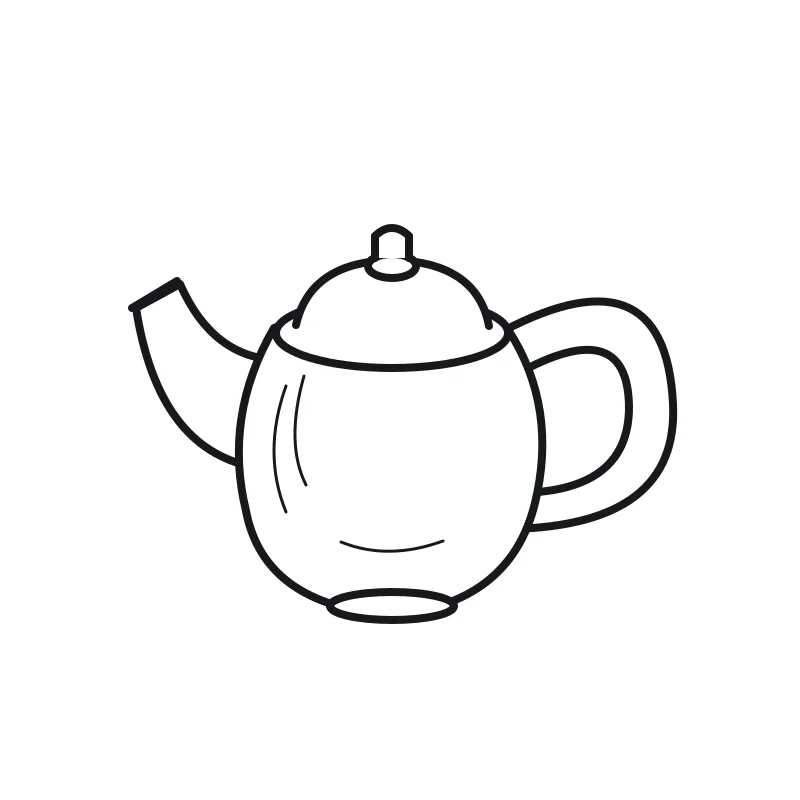 Input image
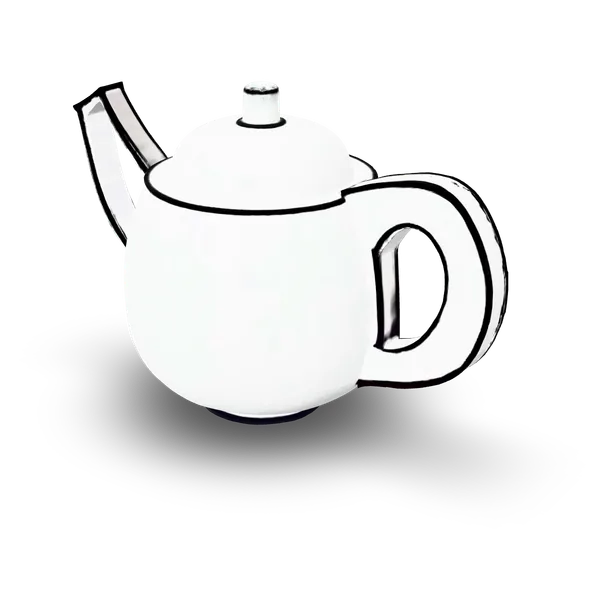
Check the volume inferred from your drawing
A sketch to 3D model result includes surfaces that the original drawing did not fully describe. Inspect the generated front, side and back to see whether its overall proportions remain convincing around the object. Compare these views of the output with the source sketch before refining the drawing or editing the mesh. Generated depth is an interpretation, rather than a dimensional reconstruction of hidden surfaces.
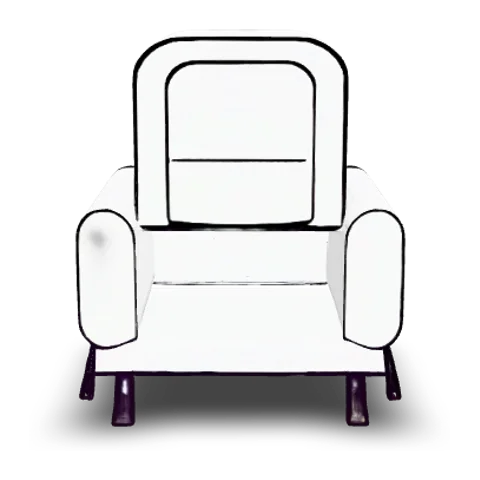
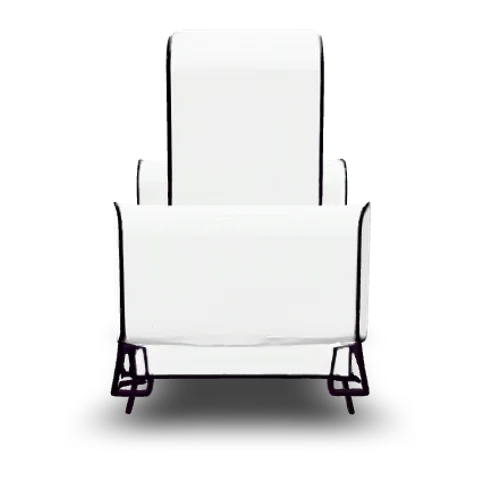
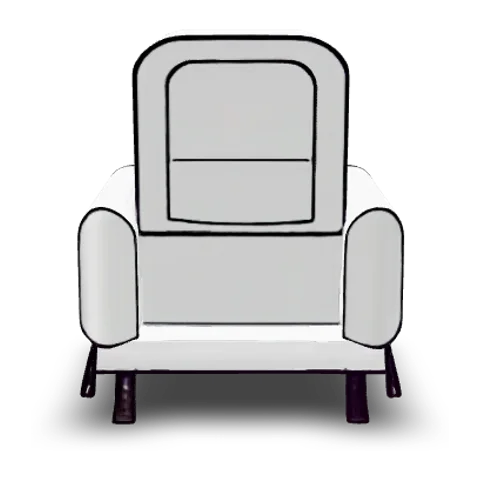
Look beyond the face shown in the sketch
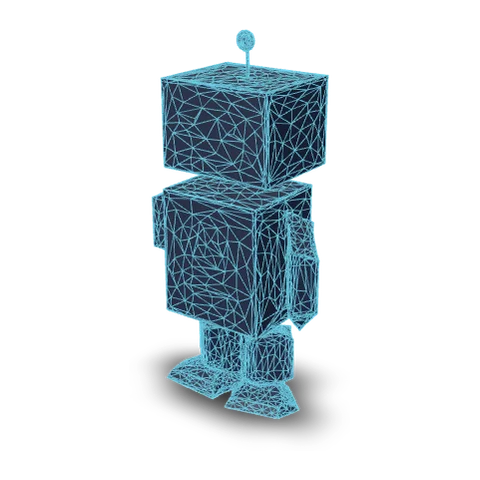
After moving from sketch to a 3D model, inspect the sides, back and underside before choosing a result. A single drawing leaves depth and hidden surfaces open to interpretation. Solid and wireframe views make it easier to examine the generated volume independently of its drawn-looking texture. Use a 3D editor to correct features that need a different shape.
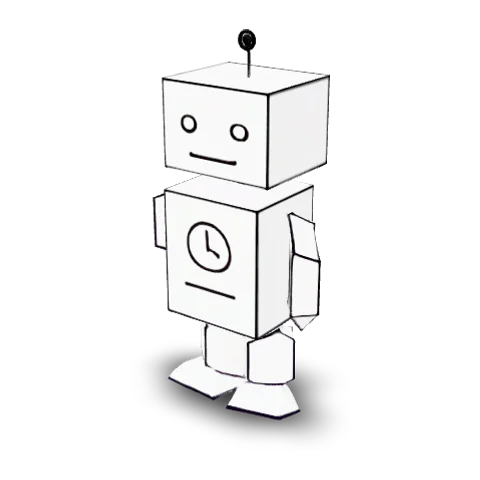
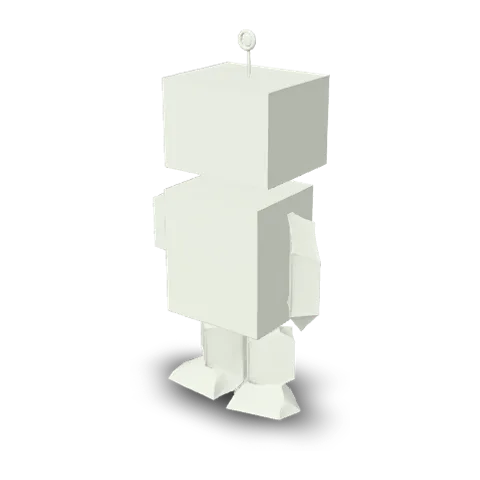
Continue shaping the mesh after generation
Download the result as GLB, OBJ or STL when you are ready to continue the design. GLB offers a packaged model, OBJ can include companion materials and textures, and STL carries the geometry without color. Choose the format for your next application, then refine the scale, surfaces and structural details that matter to your project.

- glbWeb and games
- objEditing tools
- stl3D printing
How it works
How to convert a drawing to a 3D model and inspect its hidden sides
Follow this sketch to 3D model workflow to prepare the drawing, generate an interpretation and review the mesh before taking it into your next tool.
- Upload your drawing
Prepare one clear sketch
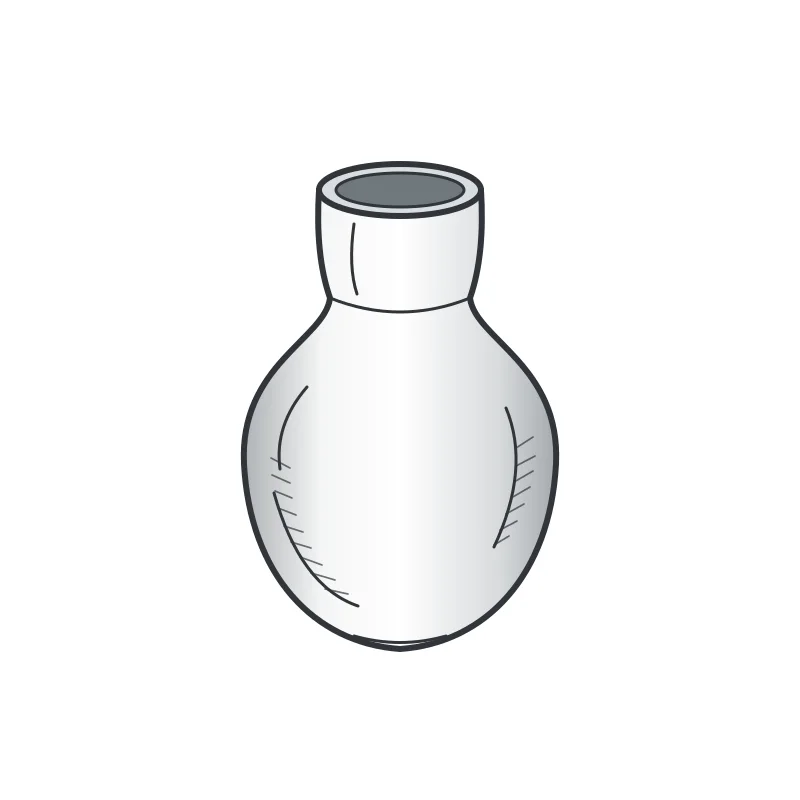
Choose a drawing with a readable outer contour and recognizable main parts. Crop away unrelated notes and surrounding objects, then check the displayed file requirements. Going from sketch to a 3D model depends on the visible image, so distinguish the subject clearly from its background.
- TRELLISFREE
- Rodin 2.5 FastPRO
- Hunyuan 3D 3.1 RapidPRO
- Tripo H3.1PRO
- Hunyuan 3D 3.1 ProPRO
- Rodin 2.5PRO
- Meshy 7.1PRO
Select a model and review the quote
Upload the sketch in the Image tab and choose a compatible model. Review its available texture and mesh-detail settings before pressing Generate. The sketch to 3D model quote reflects the actual options you select; loading an example only fills the input and does not start a paid request.
- GLBOBJSTL
Examine the whole object and export
Rotate the generated result to inspect the back, sides and small connections that were not fully described in the drawing. Compare the available preview modes, then download GLB, OBJ or STL. Continue any changes to geometry, dimensions or materials in a compatible 3D editor.
More generators
More AI 3D generators
A sketch to 3D model workflow can lead to a different reference or output. Explore the other inputs, formats and model pages below.
Stories
Sketch to 3D Model Stories
From robot outlines to furniture drawings, these sketch to 3D model stories describe the forms creators explored and the surfaces they checked around each result.
I used sketch to 3D model generation with the box-robot line drawing and examined the chest, feet and head in the preview. The outline became a volume I rotated rather than a single view. I downloaded the mesh and kept notes about the side and back surfaces that the drawing had not specified.
FAQ
Sketch to 3D model questions
Understand which drawings to upload, how AI interprets depth and what you can download from a sketch to 3D model workflow.
- Clear drawing input
- GLB · OBJ · STL
- Inspect every side
This sketch to 3D model workspace accepts an image of your drawing and generates a downloadable mesh with a compatible AI model. Upload one clear subject, review the quote, then inspect the result from several angles before choosing an export format.
Go from sketch to 3D model and examine the shape behind it
Upload a drawing, choose a compatible model and move from sketch to a 3D model you can turn around. Check the inferred surfaces, download the mesh and continue developing the design in your own editor.