Browser logo extrusion
Logo to 3D Model: Turn a flat logo into a mesh with depth
Extrude a transparent PNG or simple filled SVG free in your browser, with no sign-up. Set the thickness, preview the 3D logo, then download GLB for an editor or STL for a slicer.
Use cases
Where to use an extruded 3D logo model
Use Logo to 3D Model when you need a shape with depth that follows a simple brand mark, symbol or lettering outline.
- Extruded silhouette
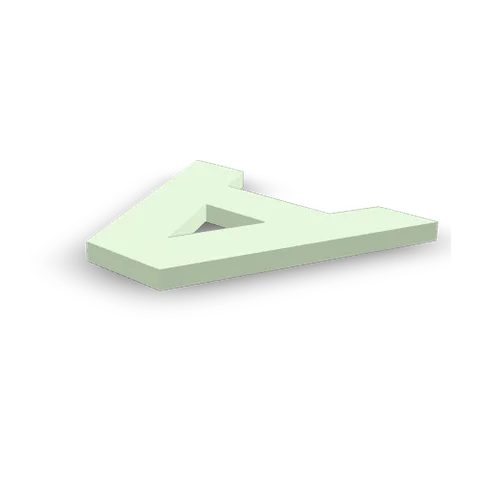
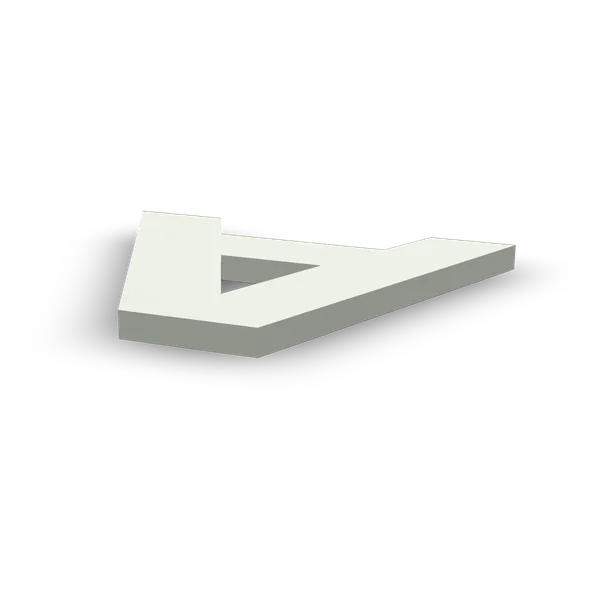
Use Logo to 3D Model with a broad lettermark that you own. Add depth and rotate the preview so you can see how the edges read from the side before opening the result in a display mockup.
- Extruded silhouette
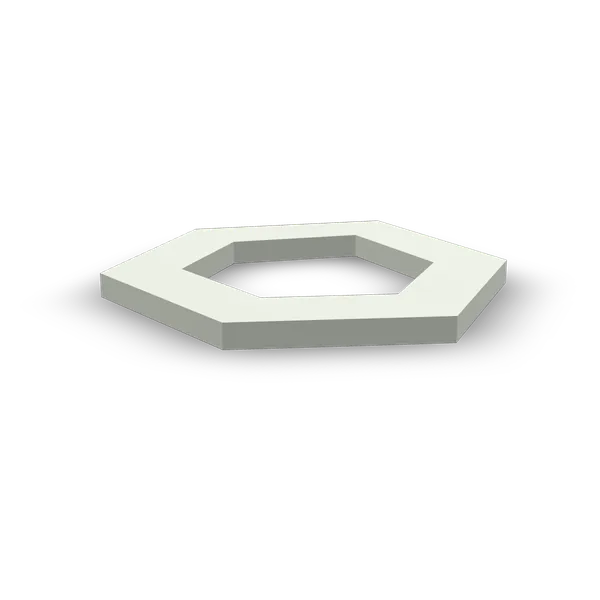
Start Logo to 3D Model with a clear badge silhouette and an opening in its center. Inspect the inside edge in the result so the negative space remains visible when you judge the final outline.
- Extruded silhouette
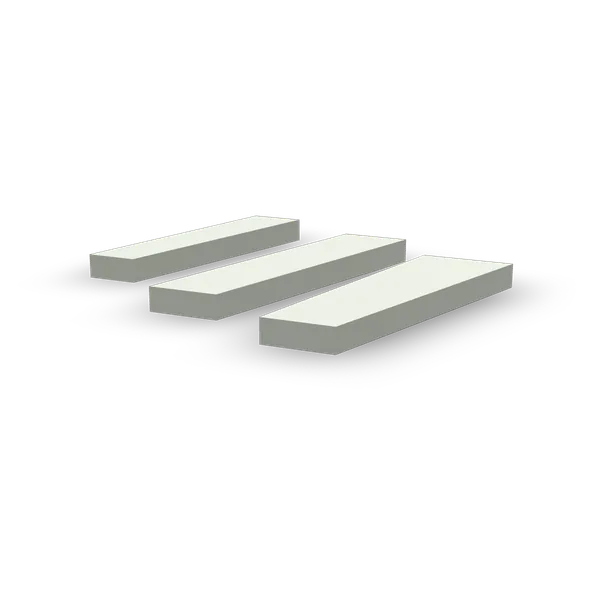
Use Logo to 3D Model with a simple mark made of disconnected elements. Rotate the parts together, then download GLB and open it where you plan to check the outline against the rest of the scene.
- Extruded silhouette
Take a simple transparent PNG into Logo to 3D Model and choose the depth of its profile. Save the STL and check letter openings and thin sections in the slicer before deciding how to use the shape.
Examples
3D models from logo outlines and cutouts
Compare the flat input with the mesh to check the openings, separated parts and thickness that the extrusion gives it.

Cutout lettermark

Compass badge

Three separate facets
Features
What the 3D logo model generator preserves
Logo to 3D Model turns the recognized outline into a mesh with a controlled depth. Open centers and separate elements remain visible when the source artwork defines them clearly.
Extrude the outline of your artwork
Logo to 3D Model reads the opaque foreground of a transparent PNG or supported filled outlines in an SVG. Both inputs define a flat profile that becomes a mesh with a front face and side walls. A simple badge shape is a good example of the silhouette this approach can follow.

Keep openings and separate shapes visible
Logo to 3D Model can retain open centers and disconnected outlines in the extruded mesh. The compass badge keeps its center open, and the facets example keeps three shapes apart. That matters for letter centers and small gaps that are part of the original mark’s identity.
Choose one thickness for the profile
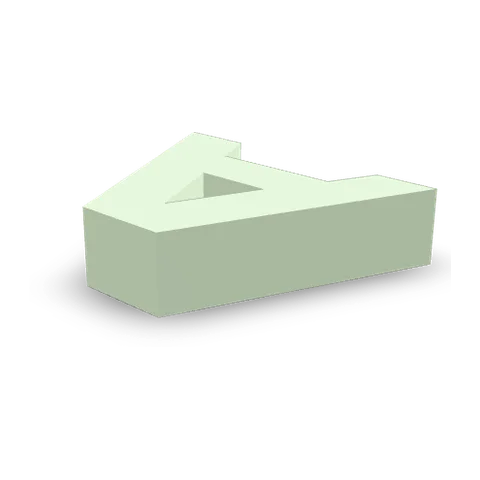
The thickness setting in Logo to 3D Model controls the height of the entire extrusion from 0.5 to 20 mm. The same lettermark shown at 3 mm and 12 mm has the same front outline and a different side wall. This makes depth a separate choice from the shape of the artwork.
Choose GLB or STL for the next step
Logo to 3D Model saves GLB for a compatible editor and STL for geometry inspection in a slicer. Both formats carry the shape at the thickness selected in the workspace. The GLB fits a scene or display mockup, while the STL lets you examine letter holes and walls during a slicing check.
- GLB3D editor
- STLSlicer
How it works
How to turn a PNG or SVG logo into a 3D model
Load a compatible outline in Logo to 3D Model, set its depth, and check the saved mesh in the editor or slicer you plan to use.
- Choose a logo
Select a transparent PNG or simple SVG
Select Choose a logo and load a transparent PNG with a solid foreground, or a simple SVG with filled paths. Wait for the Logo to 3D Model preview. Check that the outer edge follows the shape you intended to keep.
- Thickness3 mm
Side wall of the extruded lettermark Set the thickness and turn the preview
Set Thickness in Logo to 3D Model, then turn the preview to see it from the side. Read the model dimensions and check the front for gaps, letter centers and separate pieces before saving the 3D mesh.
- GLBSTL
Download GLB or STL
Choose Download GLB for a compatible editor such as Blender or Download STL for a slicer. Open the saved Logo to 3D Model mesh there and verify the outline and depth against the preview.
More 3D workflows
Related tools for logo models in GLB and STL
Generate a model from a picture, convert an existing GLB or change the surface on a mesh you already have.
Stories
Logo to 3D Model Stories
A cutout badge, raised lettering and separate shapes each reveal something different once a flat logo has depth.
I used Logo to 3D Model with a broad lettermark for a stand mockup. I added a shallow depth and turned the preview to see the edge the audience would see first. Taking the GLB into my scene helped me settle how far the letters should stand off the background.
FAQ
Logo to 3D Model FAQ
Answers about Logo to 3D Model inputs, holes and disconnected parts, thickness and the GLB or STL export.
- PNG or simple SVG
- GLB · STL
- Local extrusion
Logo to 3D Model is a browser tool that adds depth to a transparent PNG silhouette or a simple SVG outline. It makes a mesh you can preview and export as GLB or STL.
Extrude your logo into a 3D model
Open Logo to 3D Model with your own transparent PNG or simple SVG. Check the profile and thickness, then download GLB or STL for the next step in your project.