Meshy 7.1 · Third-party access
Meshy AI: Bring your object reference to Meshy 7.1
Give Meshy 7.1 an image, a text prompt or matching views. Rotate the textured mesh to check its shape and finish, then download it as GLB, OBJ or STL.
Create your model
3D preview
Sample result · Meshy 7.1
 Input image
A real Meshy 7.1 example generated on Image to 3D AI. Inspect the shape, then create your own model from a supported input.
Use cases
Meshy AI for prop and object exploration
Use Meshy AI to examine how a picture or description becomes a three-dimensional object. Each example identifies its actual input and model, so a character, decorative object or product study can be inspected on its own terms.
- Meshy 7.1
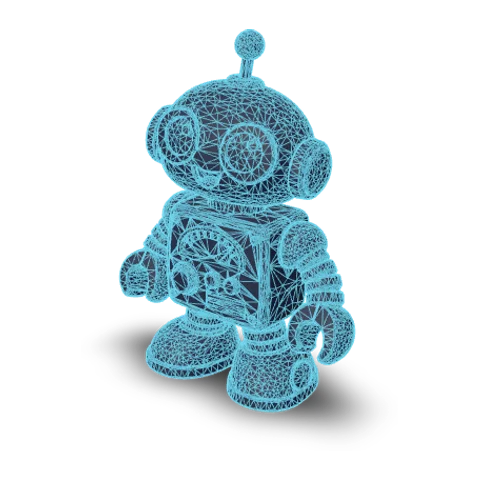
Use Meshy AI to explore a distinctive prop, such as the retro robot shown here, from a clear object reference. Inspect how its front design extends around the sides and back before deciding what to keep. Geometry cleanup, deformation needs and texture budgets still require attention before a generated asset enters production.
- Meshy 7.1
A Meshy AI mesh can provide a starting shape for a figure or decorative object. Turn it in the viewer to check connections and small features, then export STL when continuing toward a print. Independently establish suitable scale, wall thickness, closed surfaces and supports in the preparation tools you use.
- Meshy 7.1
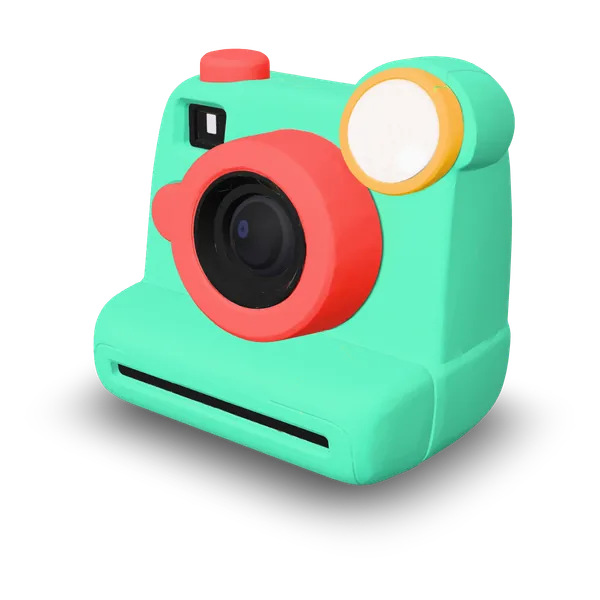
Explore a product-like form with Meshy AI when a picture or description can communicate its main shape. Compare the generated proportions and recognizable parts with that reference. This is visual design exploration, while engineering dimensions, fit and manufacturing constraints still need separate modeling and validation.
- Meshy 7.1
Use a generated object to study a silhouette or set-dressing idea in your own editing environment. Inspect its geometry and material interpretation from the viewpoints needed for the scene. Final topology, lighting, textures, rigging and animation remain additional production work rather than automatic outputs of this generation page.
Examples
Meshy AI examples you can rotate
Explore Meshy 7.1 results with their actual picture, text prompt or multiple-view references. Inspect each subject and choose its available versions to compare the recorded inputs and generated meshes before loading a sample into the workspace.
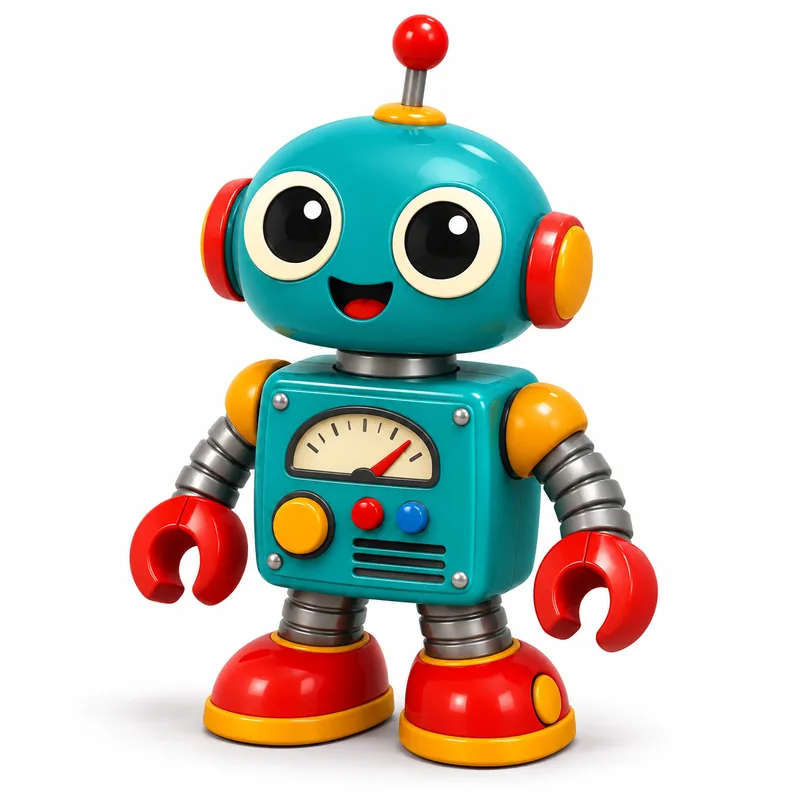 Input image
Features
Use Meshy AI with a focused object reference
Meshy AI has several supported inputs, but a useful result still starts with a clear description of one object. Check the input, available settings and generated shape as distinct parts of the workflow.
Describe one recognizable object
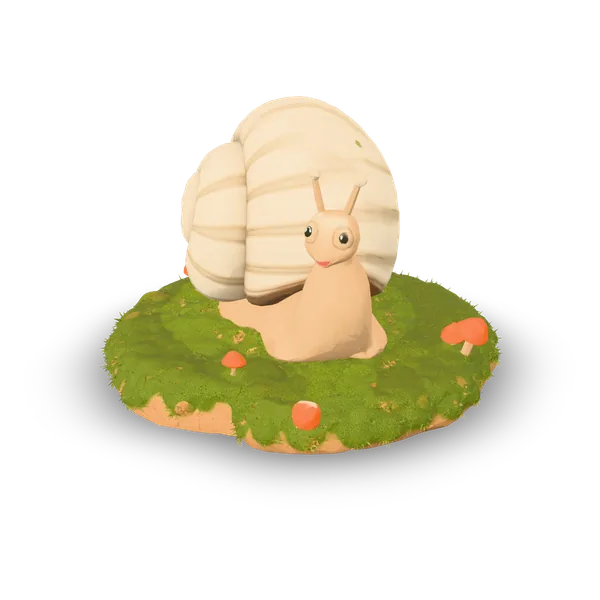
Start a Meshy AI task with a clear picture or a focused description of one object. The snail example pairs its original text prompt with the actual generated mesh. Inspect the result from several sides to see which described features became geometry and which details still need editing.
A friendly cartoon snail with a spiral shell covered in tiny mushrooms and moss
Inspect the generated Meshy result from all sides
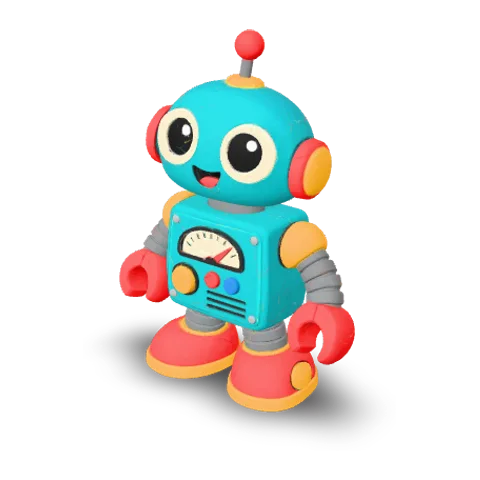
A Meshy AI result can contain inferred shape and material details that are less obvious from the front. Compare the generated front, side and back views of one mesh to examine its silhouette and connections. Keep its actual picture or prompt in mind while deciding what to retain or refine. These output angles do not represent extra uploaded photos or demonstrate another input mode.



Review the options offered for the selected input
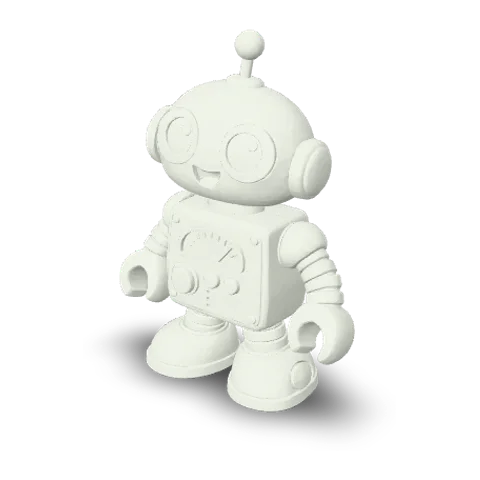
Meshy AI texture and mesh-detail choices depend on the current input method. Image and multi-image tasks can offer texture off, while text currently uses texture on in this workspace. Inspect the visible options and quote before generating. Afterwards, use solid and wireframe views to examine geometry separately from its surface appearance and any small material details.
Export for continued work in your own tools
Choose GLB, OBJ or STL from the platform after inspecting the completed mesh. An OBJ delivery may depend on accompanying material and texture files, while STL carries the uncolored shape. These downloads are the current integration’s output choices. They do not include the official product’s whole feature set or automatically finish topology, rigging or print preparation.
- glbWeb and games
- objEditing tools
- stl3D printing
How it works
How to create with Meshy AI using the shared workspace
Prepare the input, check Meshy 7.1 and its settings, then inspect the downloadable object. The side-by-side panel keeps each step of your Meshy AI task in view.
- Add an object reference

Prepare a picture, prompt or matching views
Keep Meshy AI selected and choose the input you want to provide. Upload one clear picture, describe the object within the displayed limit, or add two to four consistent views. Review the selected tab and all required inputs before moving to the generation options.
- TRELLISFREE
- Rodin 2.5 FastPRO
- Hunyuan 3D 3.1 RapidPRO
- Tripo H3.1PRO
- Hunyuan 3D 3.1 ProPRO
- Rodin 2.5PRO
- Meshy 7.1PRO
Check Meshy 7.1 and the current quote
Review the model selector, available texture state and mesh-detail choice before starting a Meshy AI task. Text currently includes texture, while image modes can offer a texture-off combination. The quote reflects the selected settings, and generation begins only when you explicitly request it.
- GLBOBJSTL
Examine the object and download the mesh
Turn the result to inspect the full volume and compare its visible features with your reference. Choose a supported file format and continue editing in compatible software. Preserve OBJ companion resources where needed and carry out any specific geometry, scale or printing checks after import.
More generators
More AI 3D generators
After trying Meshy AI, browse other model options, change how you prepare your reference or open an export-focused workspace for the file you need.
Stories
Meshy AI Stories
Toy robots, lamps and sculptural creatures appear in these Meshy AI stories, where creators compare textured and solid views while reviewing the generated volume.
I used Meshy AI with a retro-robot reference and compared the generated eyes, chest and feet from several angles. Turning the result made the back part of my review instead of leaving it unseen. I saved the mesh with the reference and noted the small joins that still deserved attention during further character development.
FAQ
Meshy AI questions
Read the current Meshy 7.1 input, option and delivery boundaries before generating with Meshy AI through this third-party platform.
- Meshy 7.1
- GLB · OBJ · STL
- Current integration scope
This third-party Meshy AI workspace uses the platform’s configured Meshy 7.1 integration, rather than the official Meshy service. The official service has separate accounts, plans, controls and features, so its advertised benefits should not automatically be assumed to apply here.
Create a Meshy AI model from your own reference
Add a picture, written description or matching views, review Meshy AI options and confirm the quote. Generate a model, examine its geometry in the preview and download a mesh for the editing or preparation work you plan next.